
A Cushy Job
Specifically, the job of cushion making.
I picked up a little bistro-style patio furniture set that was on sale recently, I do love a good discount, and now have two chairs and a matching table sat outside on my tiny patio.
Of course, it being early April and me living in the UK, spring sunshine is still hard to come by, but I did get one lovely hour on my lunch break sat out with a pastry and a book. It was, to understate it slightly, glorious.
And I realised during this moment of glory (the day after was grey and rainy by the way, just to make clear the usual habits of the local weather), that to spend much longer outside, the chairs would require cushions. They're quite comfy on their own but to spend half a day sat out with multiple books might take some extra comfort.
The problem was this: the seats have a particular shape to them that makes circular cushions and square cushions both impractical for my new chairs. Circular cushions would sit too far back in the seat if they were small enough to fit and a square cushion would never get to the back of the seat far enough to be comfortable to sit out.
I found some pattern paper in my sewing box and nipped outside with a pen to make a template for the shape of the seats, to see what I would be working with if I wanted to make cushions, or whether it was a shape I could find for sale online somewhere. Maybe, idk, Crazy Cushions R Us would pop up in Duckduckgo and that would be the end of it?
Nooooo, don't be daft, it's an awkward shape and nowhere sells it, you're going to have to get making.
So, I asked my SIL about her previous endeavour in upholstery and she directed me to a cheap site to order foam pads from, cut to size. I measured up based on my shiny new template, and ordered two 50cm by 50cm square pads, of 8cm thick firm seating foam.
I then went for a rummage in the Trunk of Treasure Textiles, and dug out 1m of a printed linen that I got for a few quid in a closing down sale last year. I lay the fabric out and did some rough spacing out of the template to be sure it would fit four top/bottom pieces and some side strips in. And it did, just. There would be some scraps left but nothing usable for much, I certainly wouldn't be able to get matching accents out of it, or anything.
This probably would have been the end of it but the foam arrived just before a four-day weekend courtesy of the two Easter bank holidays!
So, I finished as much of my box making as I could (I need more paper, damn it), so I could clear the workbench off for sewing, and I got cracking. I started with marking up my template shape onto the foam pads and hacking them into that shape using a craft knife. A jigsaw would do a much better job, if not a proper foam-cutter, but I made do with what I had! Either way, I wound up with two shaped pads, and bits of foam and fluff everywhere, so some hoovering and sweeping was in order before I could whip out the sewing machine and get into the sewing side of it.
The overall process for sewing together the cushion covers was pieced together out of advice from my SIL, this Youtube video, some common sense and my previous cushion-making adventures.
I should mention that, for the first cushion, I did not think to document the process in the slightest, this probably has something to do with being spread over three days and involving two trips to the local craft shop in one day etc., etc.
Fortunately, for the second cushion I now knew roughly what I was doing, I was hopeful that the process would go a bit quicker this time around and I remembered to take photos!

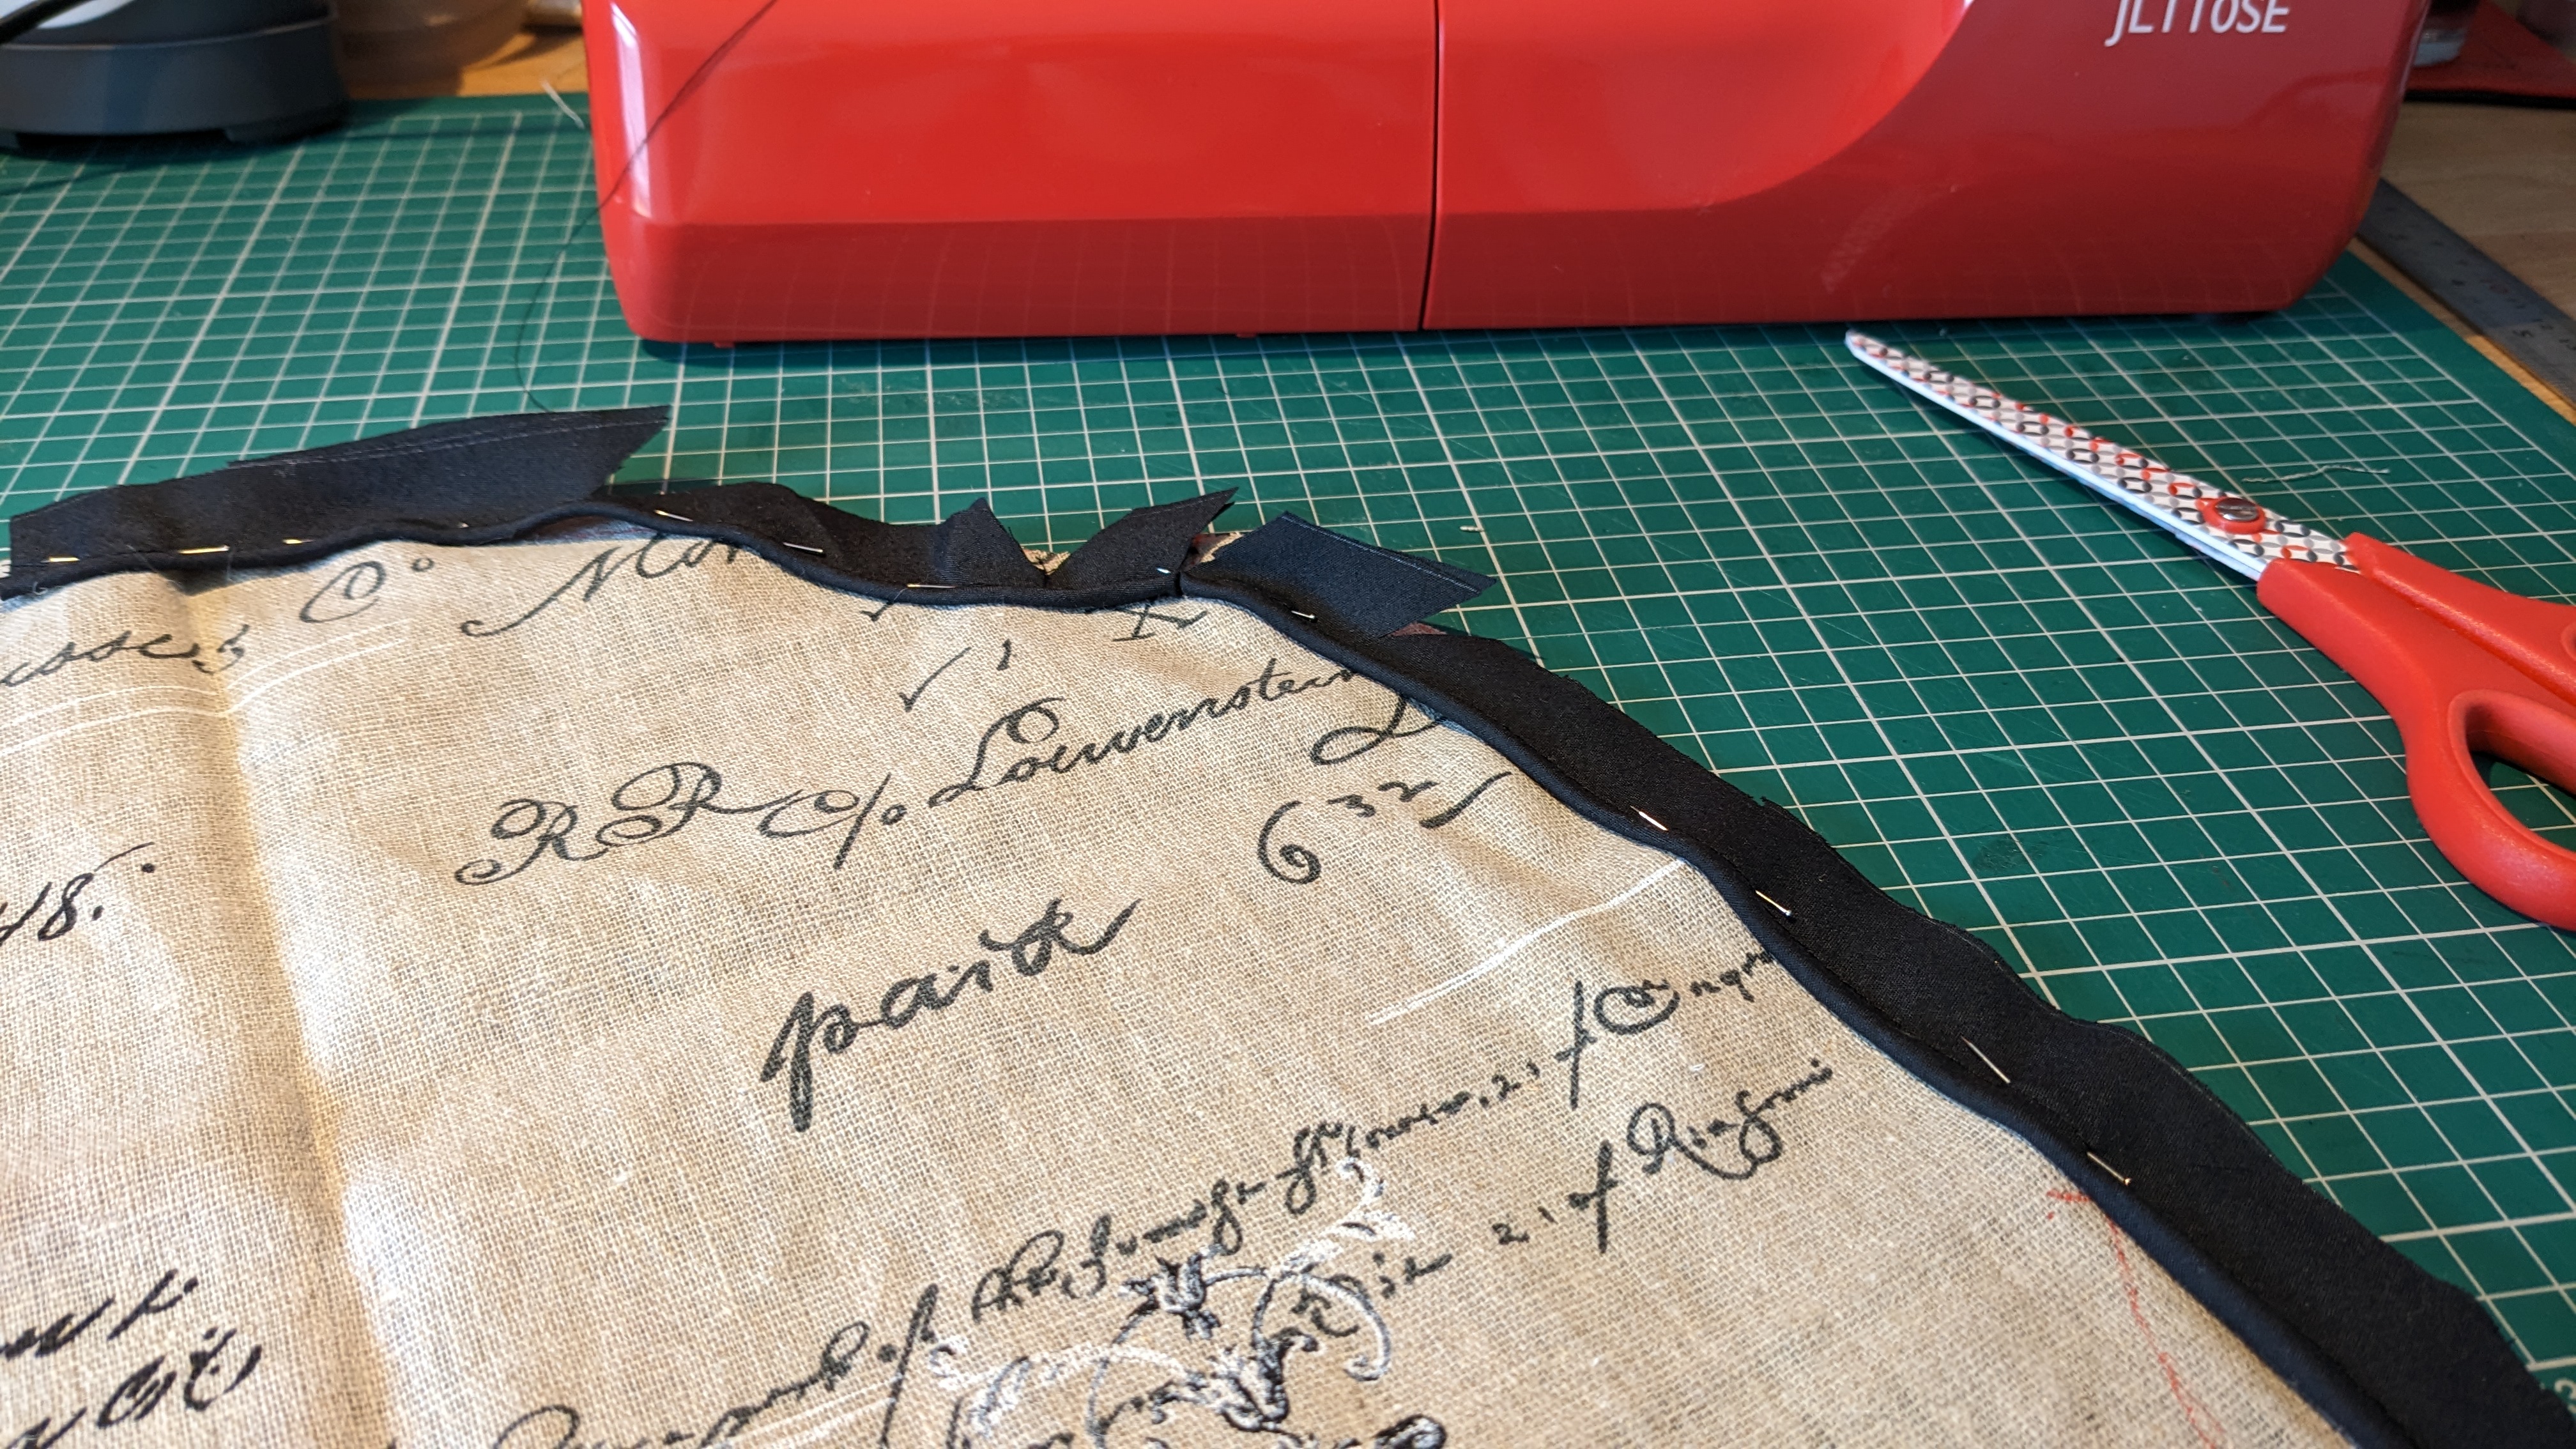


The whole thing starts with black bias tape (I made most of it, and hated the process, next time I'll buy it or buy the piping ready-made, if I can find a good price for it and don't need a very unusual colour/pattern), and some piping cord. The tape gets folded over the cord and then, zipper foot on machine, the two sides of the tape are sewn together around the cord.
I then cut two top/bottom pieces (identical pieces, hence the /) out of the fabric plus two long, wide strips to serve as the side strip (one long piece would have done but I couldn't fit the whole length it and it gets cut in two to put the zip in anyway!).
So, having made the piping for the cushion (I used just under 8m of it for both cushions), I pinned the piping around the edge of the top piece. The piping is pinned to the right side of the fabric with the cord just inside the seam/sewing line marked on it. This is then sewn on, still using that zipper foot btw.
After that, I sewed the piping onto the bottom piece the same way.
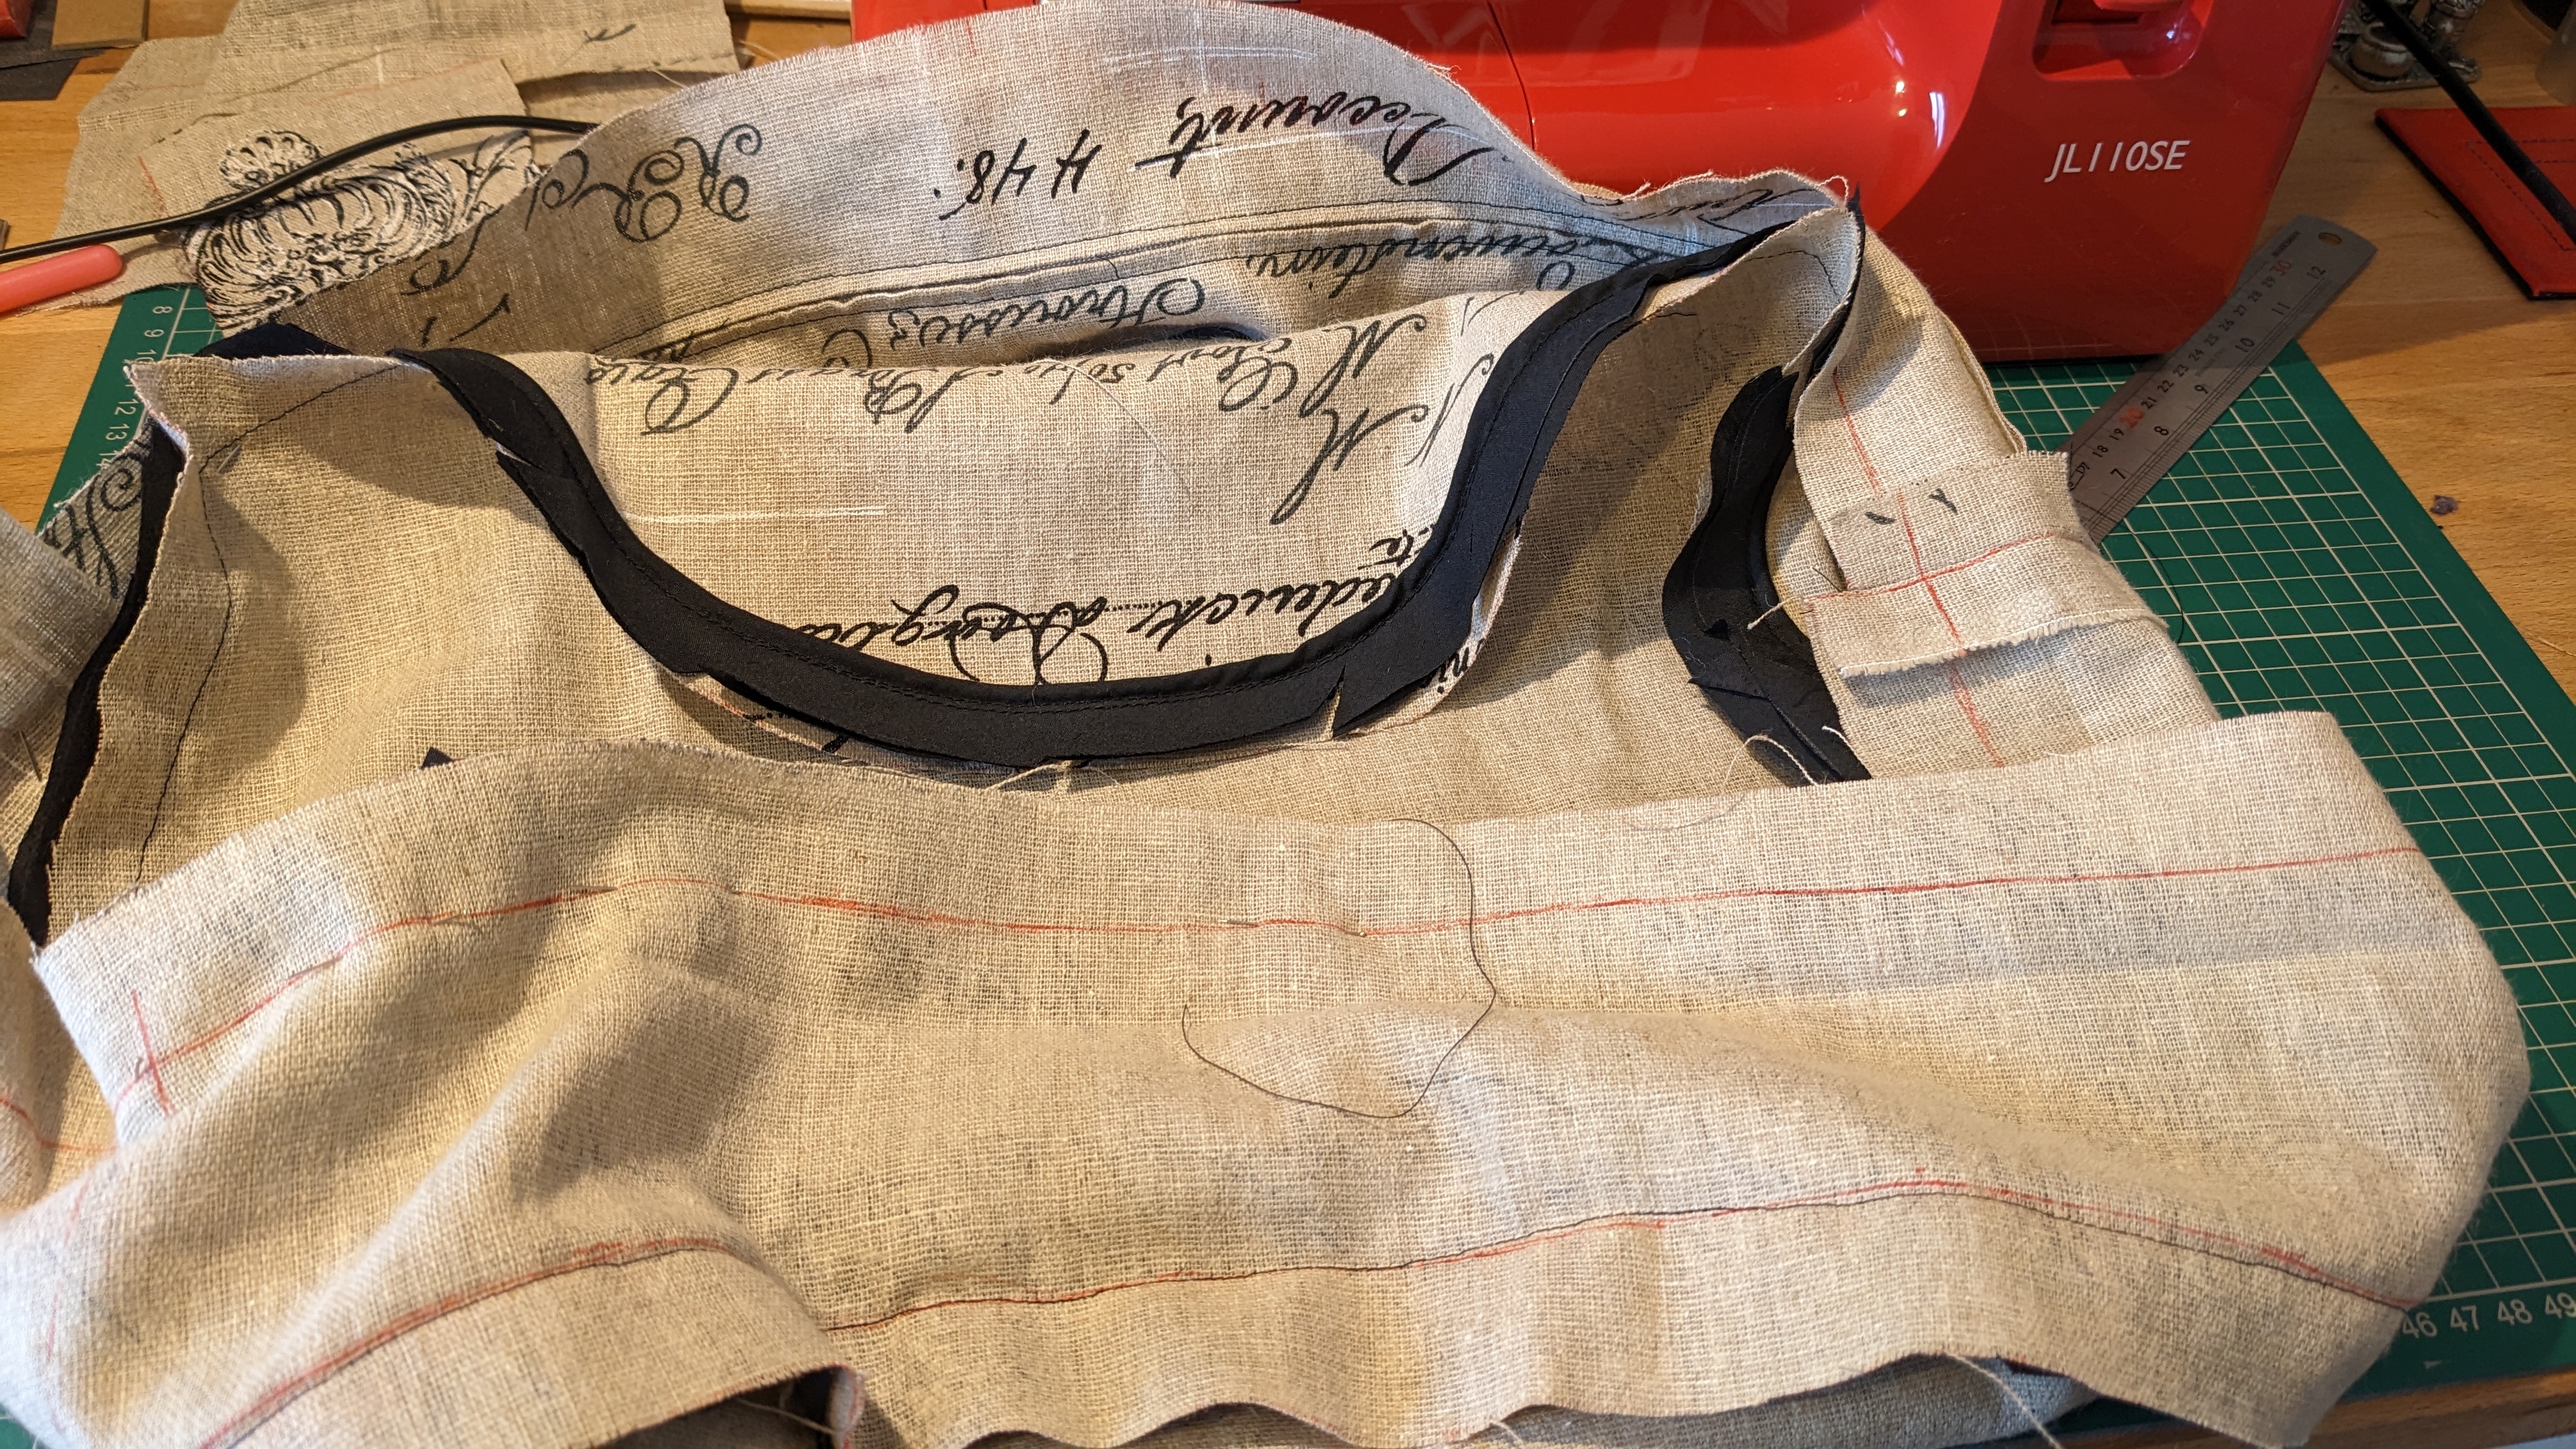
Then the side strip, I forgot to take pictures of this but there's not much two it, I took one strip and added the 56cm long zip to it as per this tutorial here, which made it an absolute doddle to get it sewin in neatly! The zip and non-zip strips were then sewn together to make one long strip. After this, I measured the widths and marked a sewing line along the top edge that I was sure would definitely leave me enough room for the 8 to 8.5cm I'd need to fit the seat pad and then an additional 1 or 2cm seam on the other side.
I pinned the side strip (right side to right side) to the top piece with the sewing line on the strip piece over the line on the top piece where I'd sewn the piping along (or as close as possible, anyway :p). I then sewed along that line, and the suddenly my WIP looked like a partial cushion cover!
Once this top-side join was done, I measured up along the bottom edge of the side strip to keep my 8.5cm gap at the sides and marked a sewing line again. The bottom piece was pinned on and then sewn on the same was as the top. Then I had a little gap left on the side piece where the zip end and the other end of the side overlapped and, while they were sewn together at the top and bottom, they were open in the middle, and needed a bridging line sewn from top top bottom, to close it all off.
All that was left after than was to test-fit the cushion pad, make sure that I'd not got any gaps or anything, missed the edge of any piping as I sewed or something like that, and then trim the seams on the inside of my new cushion cover for neatness.
The first cushion took probably ten hours or so to make, in between learning how to make bias tape and bits. The second one took me somewhere around five hours all told and was a much easier job.
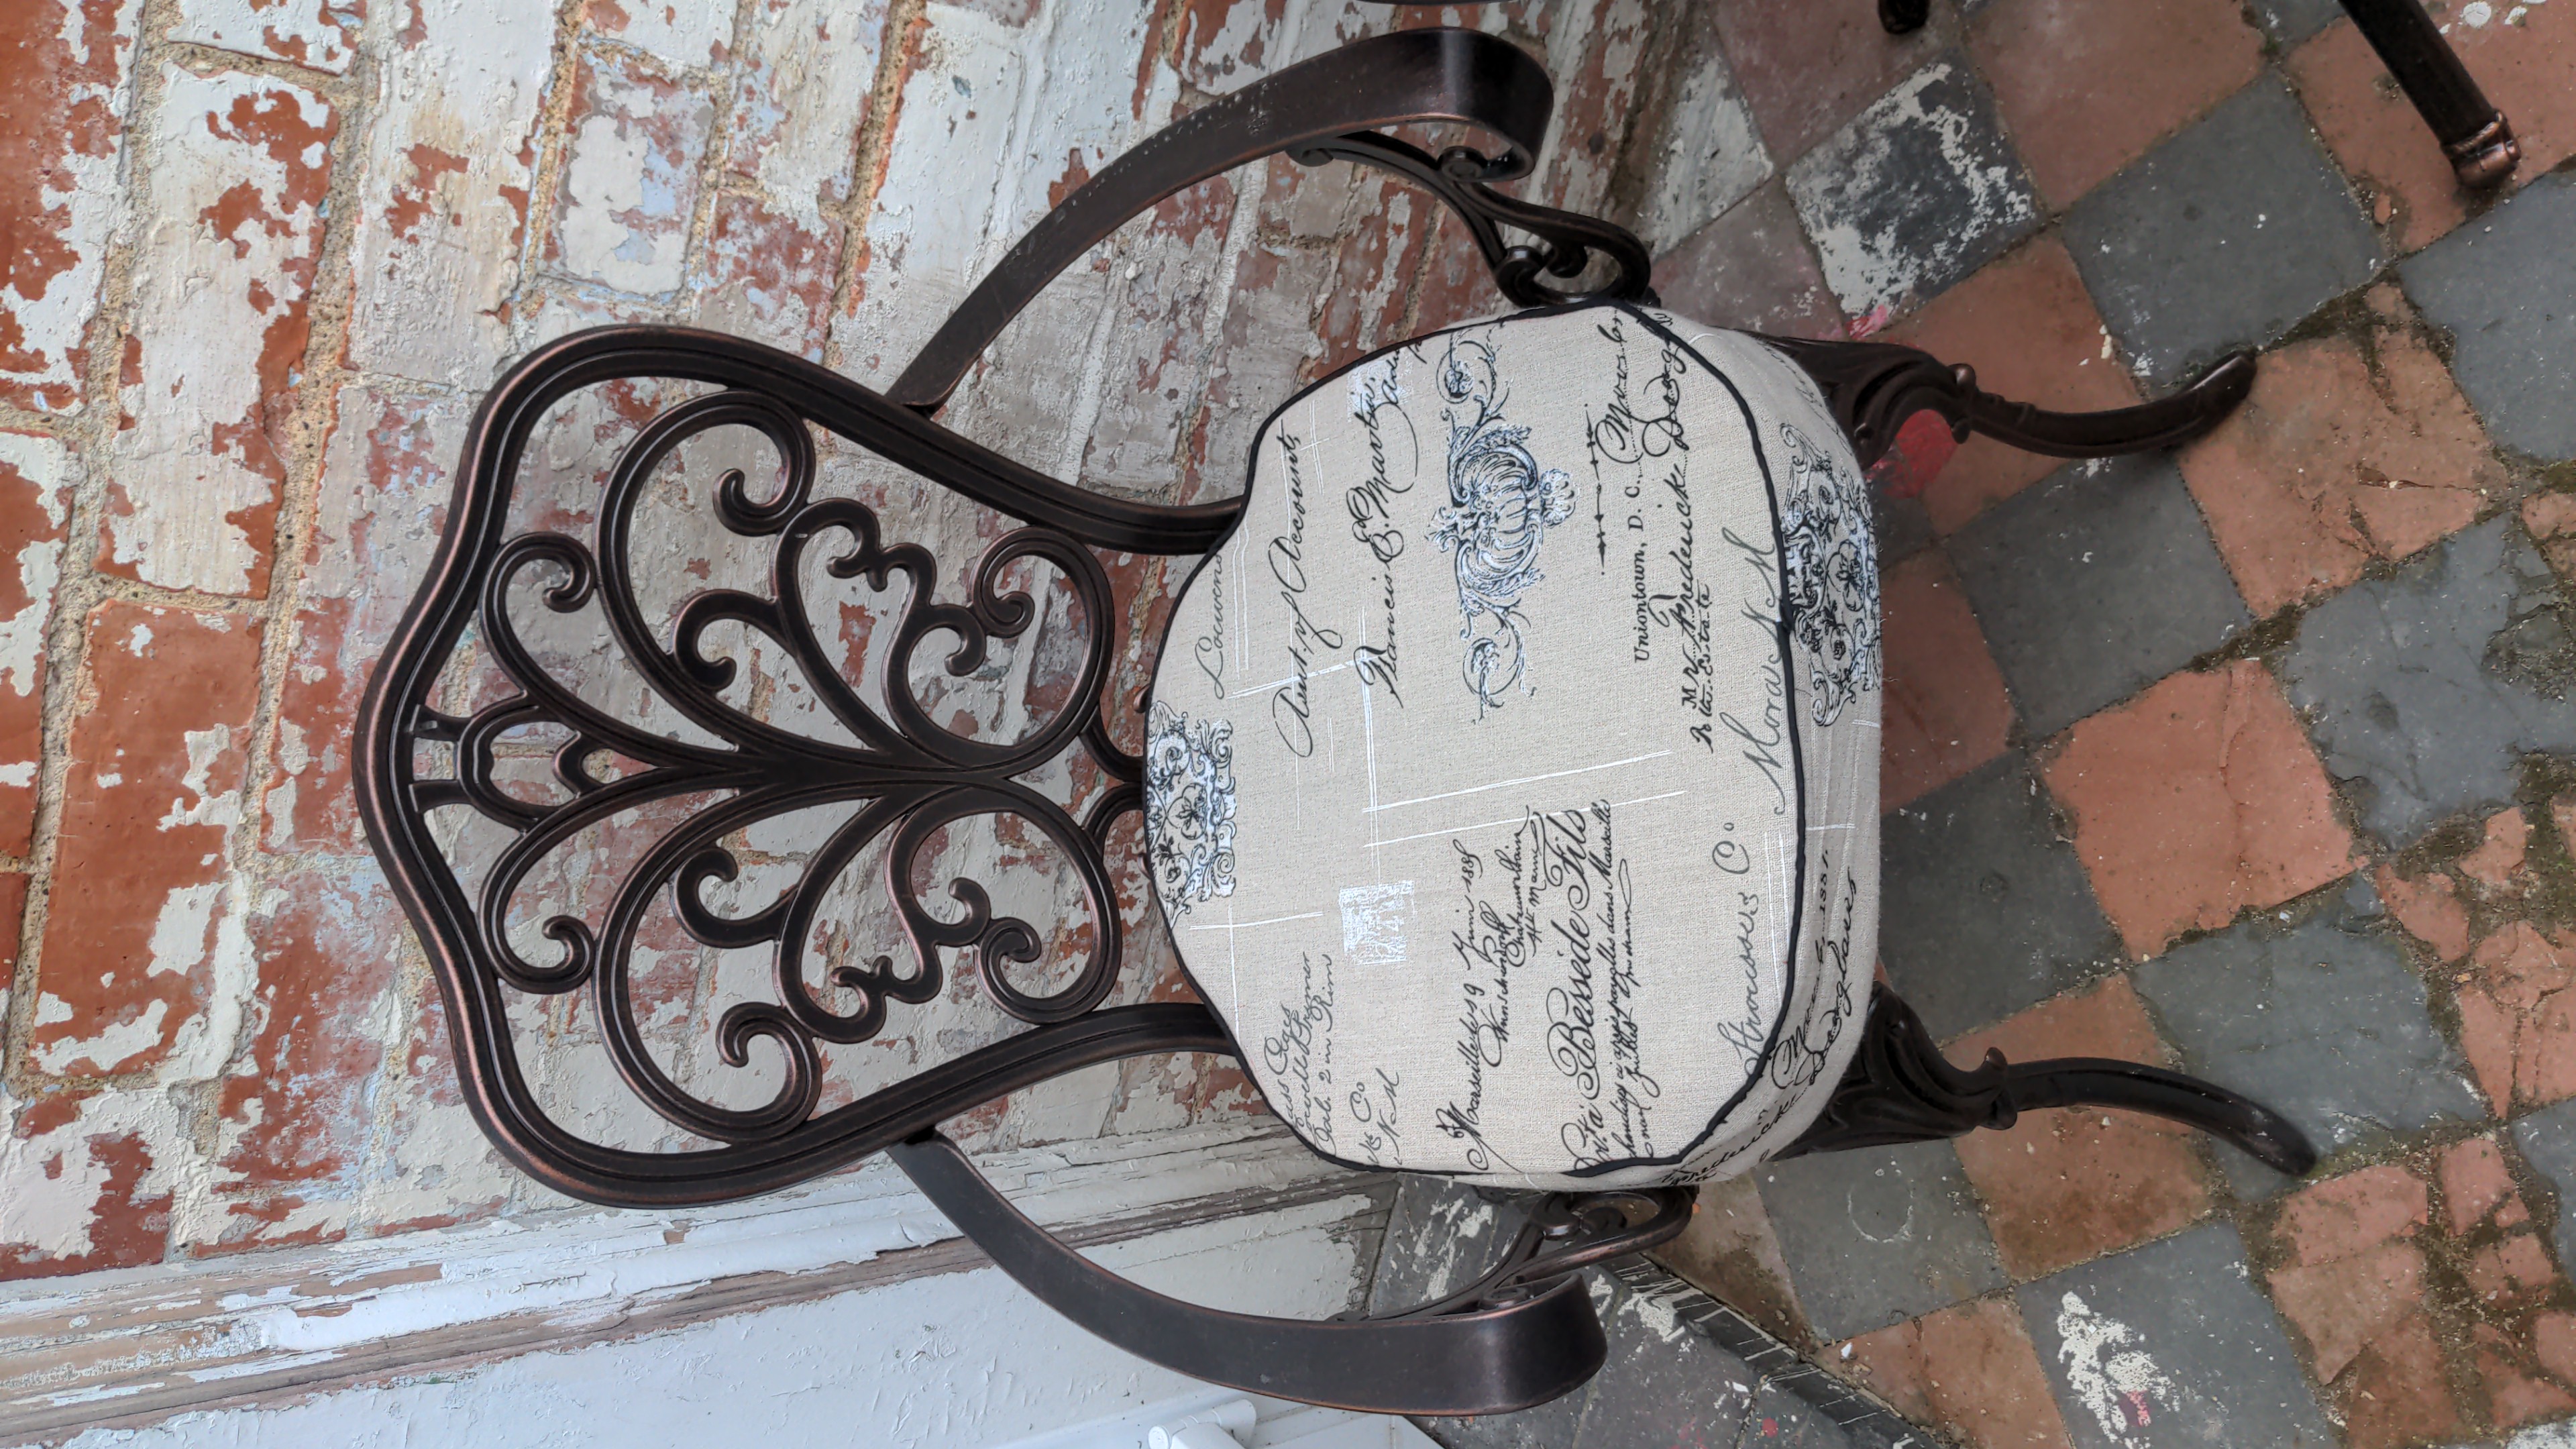
The resulting cushions fit my new chairs perfectly and I'm already looking forward to June (or, more likely: July and August) when the weather allows me to sit out and enjoy my comfy patio seating!
Come on you Saints Sunny Days! ☀️
Chatter