
Cricut Print and Cut Guides - 1 of a few
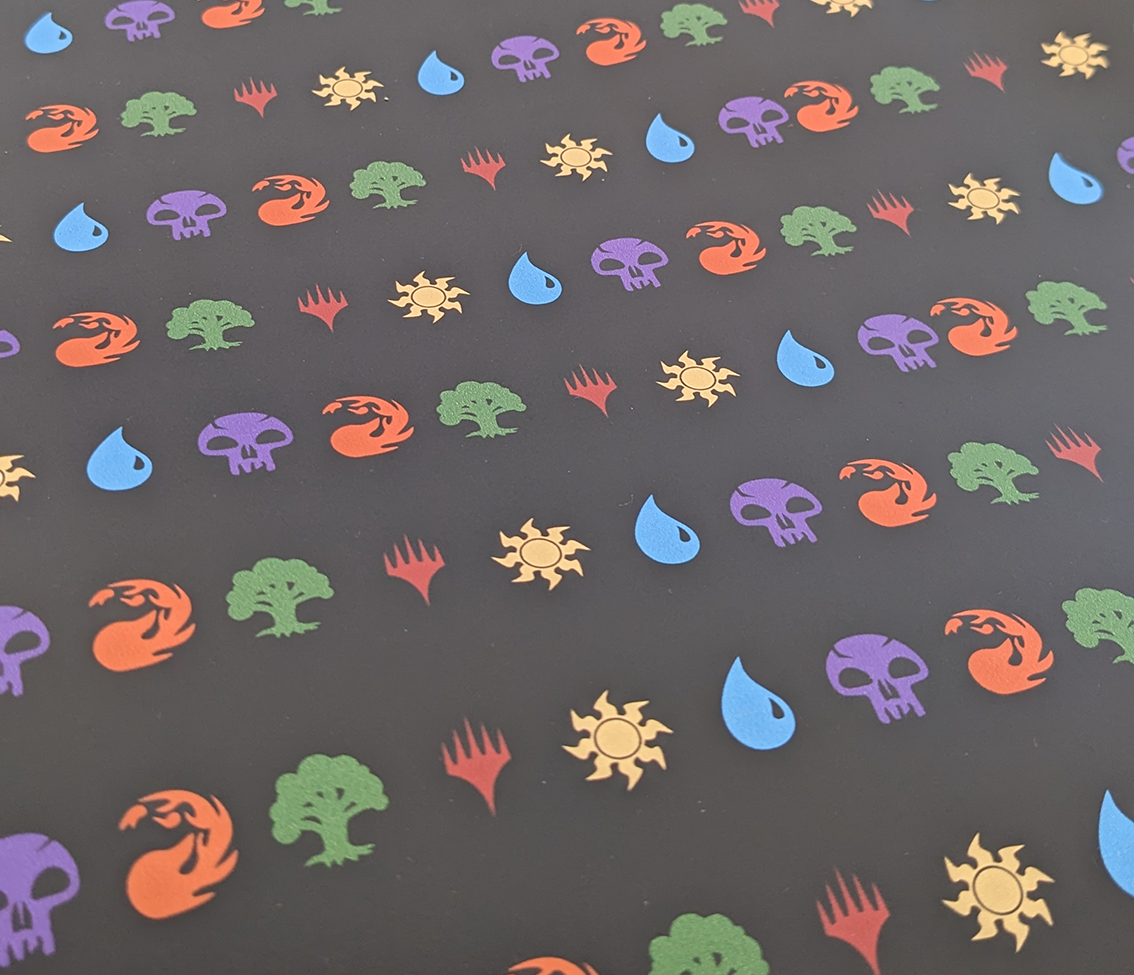
You need to make these into stickers if they're going to ever be visible to people outside of you brandishing your phone at them like a weapon.
And that's okay because you own a Cricut that is Print Then Cut capable and you've got time to spend figuring out how that capability actually works. I have thrown together the roughest of rough guides for you to help you get started on this process.
Part 1 - Getting you images into Cricut DesignSpace and ready to print/cut:

(which works best, video or gif?) Part-gifs are at the bottom too, for piece-by-piece viewing!
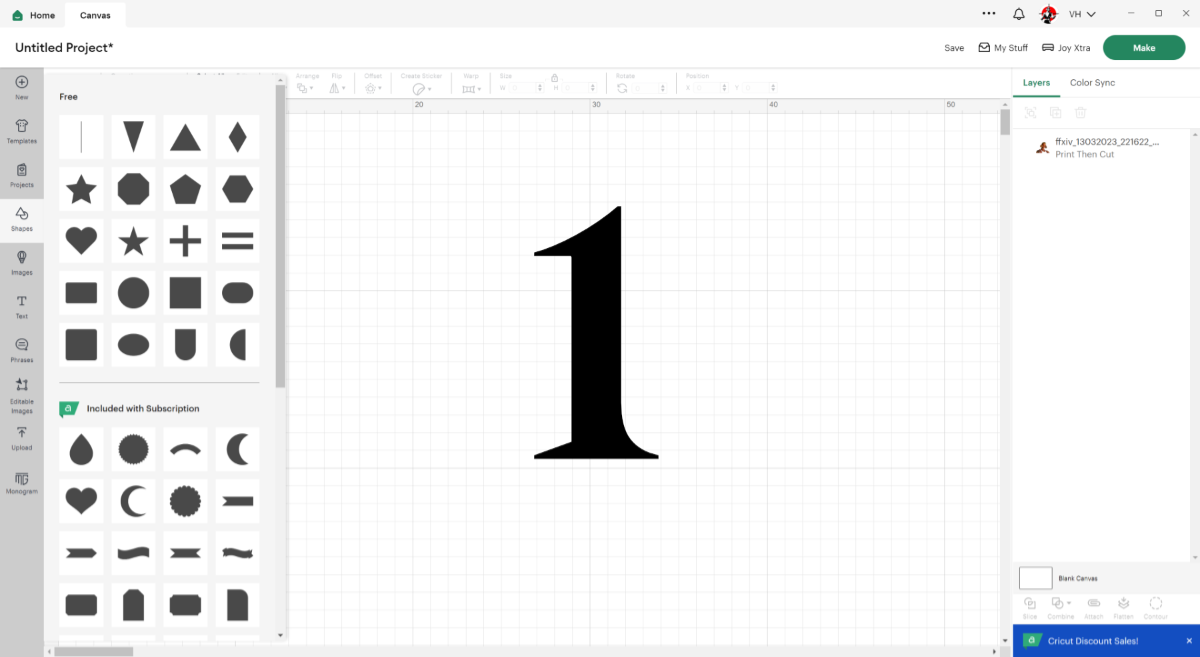
For nice rectangles, or even headshots like the one I used (oh look, it me, hi me!) with nice, neat and relatively simple edges, the whole process is relatively straightforward.
- Upload image
- Pick image type
- Remove background (or remove background and then also erase some straggly it's left behind to give a neater cutting edge)
- Check the Cut outline looks okay (curse you straggly bit, I need to go back and annihilate you once and for all!)
- Select Print Then Cut
- Add any image details you want, tags etc.
- Upload!
- Image is ready to use!
You might run into trouble sometimes with images that don't have neat edges. you have two choices here: if it's a roughly square/rectangular/circular/other simple shape then you can use Cricut canvas shapes as a sort of underlay; or if it's a messy shape or has rough edges etc, you might need to find an image editor program to create a proper underlay.
For now, let's assume you're just using a simple shape and carry on to the next stage - getting your images on canvas, offset for nice print/cutting and then printed off for cutting after.
You can get the info on that here: Part 2.


Chatter