
Cricut Print and Cut Guides - 2 of a Few
Continuing on from Cricut Print and Cut Guides - 1.
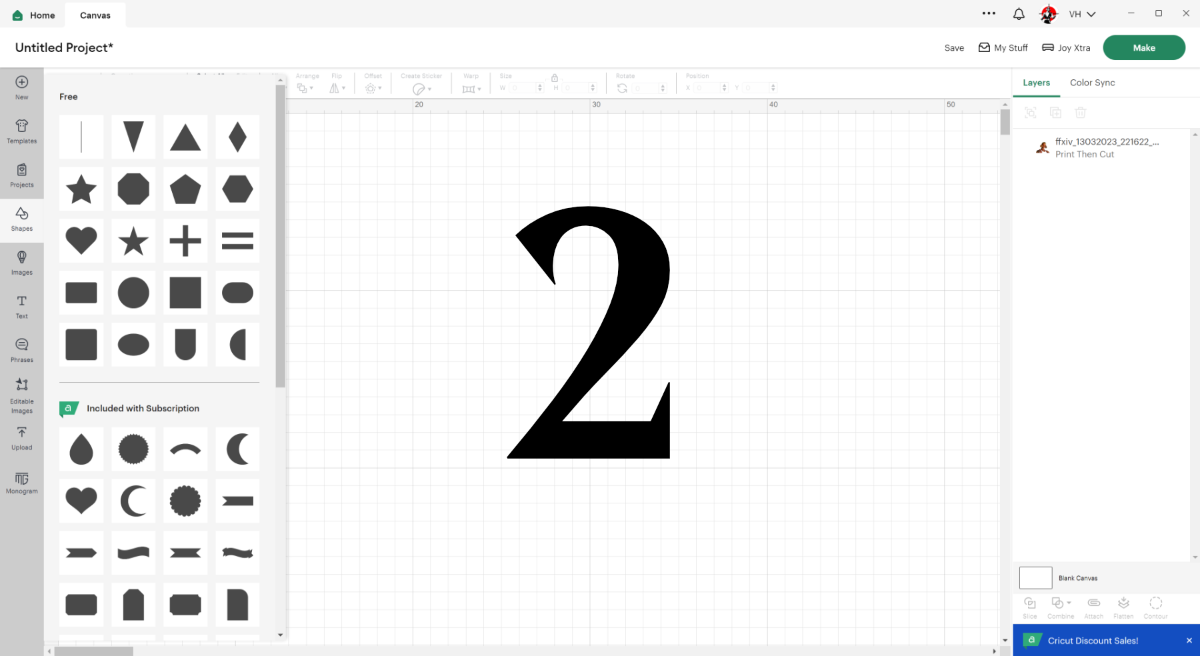
For now, let's assume you're just using a simple shape and carry on to the next stage - getting your images on canvas, offset for nice print/cutting and then printed off for cutting after.
The basic steps for this as as follows:
- Place images on canvas (Cricut lets you places multiple at once, saves you a lot of clicking)
- Resize images to suit
- Offset them all, one by one (can be as small an offset as 0.05cm, but 0.1cm works nicely)
- Flatten each image and its offset into one layer
- Click make it
- If you've not done so already: follow the instructions for calibration, remember to use normal paper for this!
- Check that your paper sizes on the left are correct
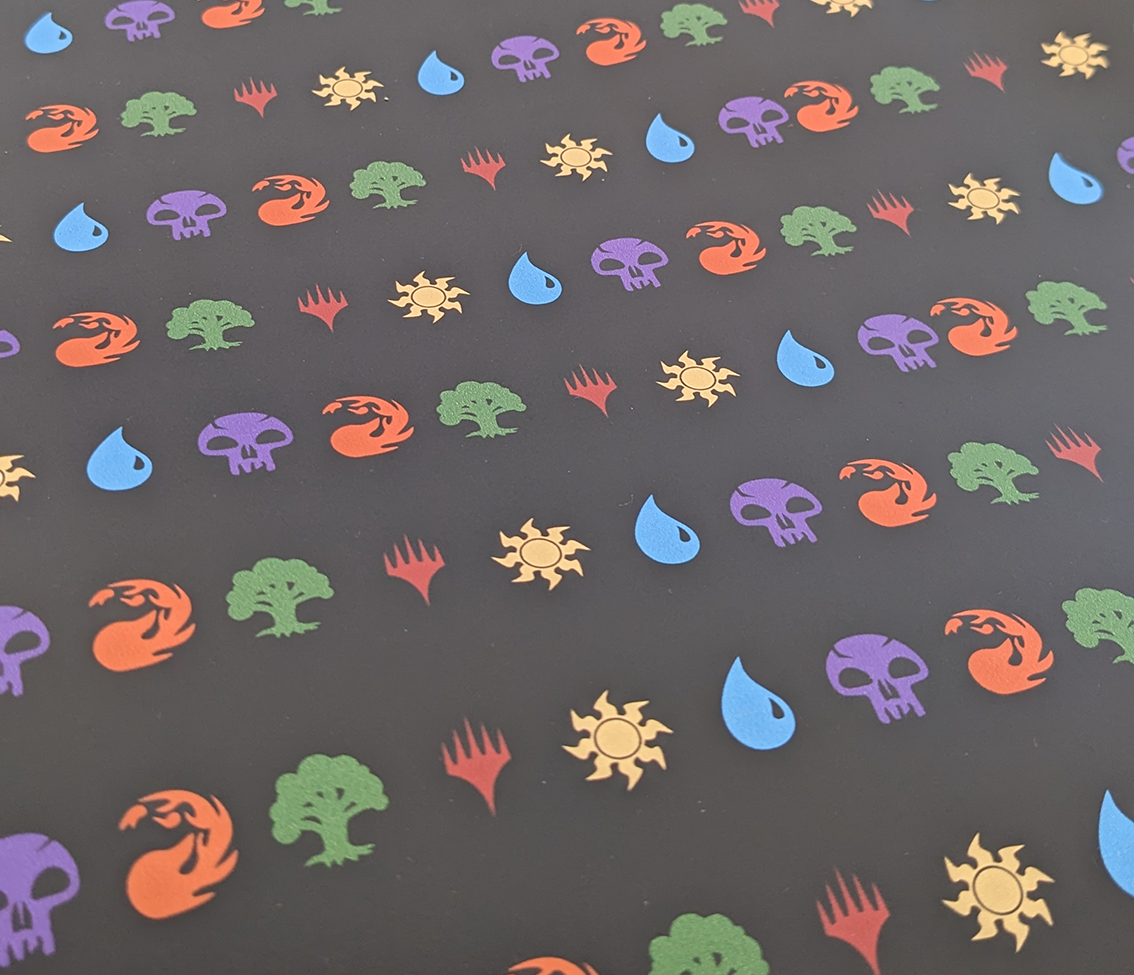
- Print the first page off onto your sticker paper/vinyl (check your printer settings are using the same paper size as Cricut too!)
- Select your material and settings (see my Cricut Crises post, you might need to first fine-tune some material settings)
- Then place the printed sheet on your cutting mat, load the blade and mat, and off you go!
So, this is Part 2 - Prepping those images and getting them printed:


Chatter