
The Slippery Slope to Fiscal Ruin
Someone posted a 'Nerdy hobbies that are Financially Devastating - Starter pack' on Reddit the other day. Magic: the Gathering (MtG) was on there, so was Warhammer 40k (which my brother is getting into), and top comments included 3D Printing...
My 3D printer is only boxed up because I no longer have room to set it up in a dedicated spot and it's not a great piece of kit to be moving around all the time, but I have some long-term plans to fix that so one day, I'll be back to printing. And then... then the money will flow. Into a bottomless pit.
In the meantime, I'm getting into (casual, kitchen table) MtG. Bottomless Money Pit #2 reporting for duty.
Hence, The Box, and now my latest handicraft project related to MtG: custom playmats.
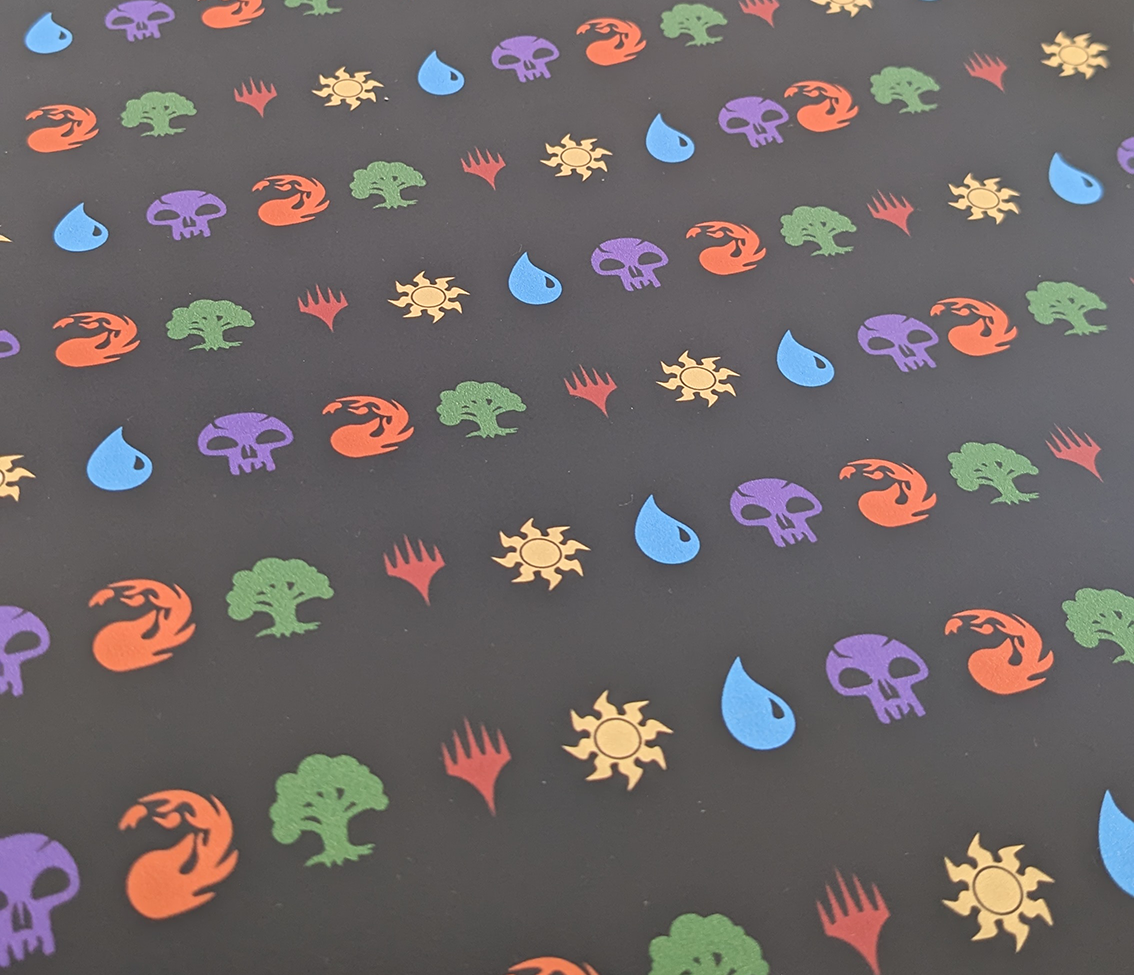
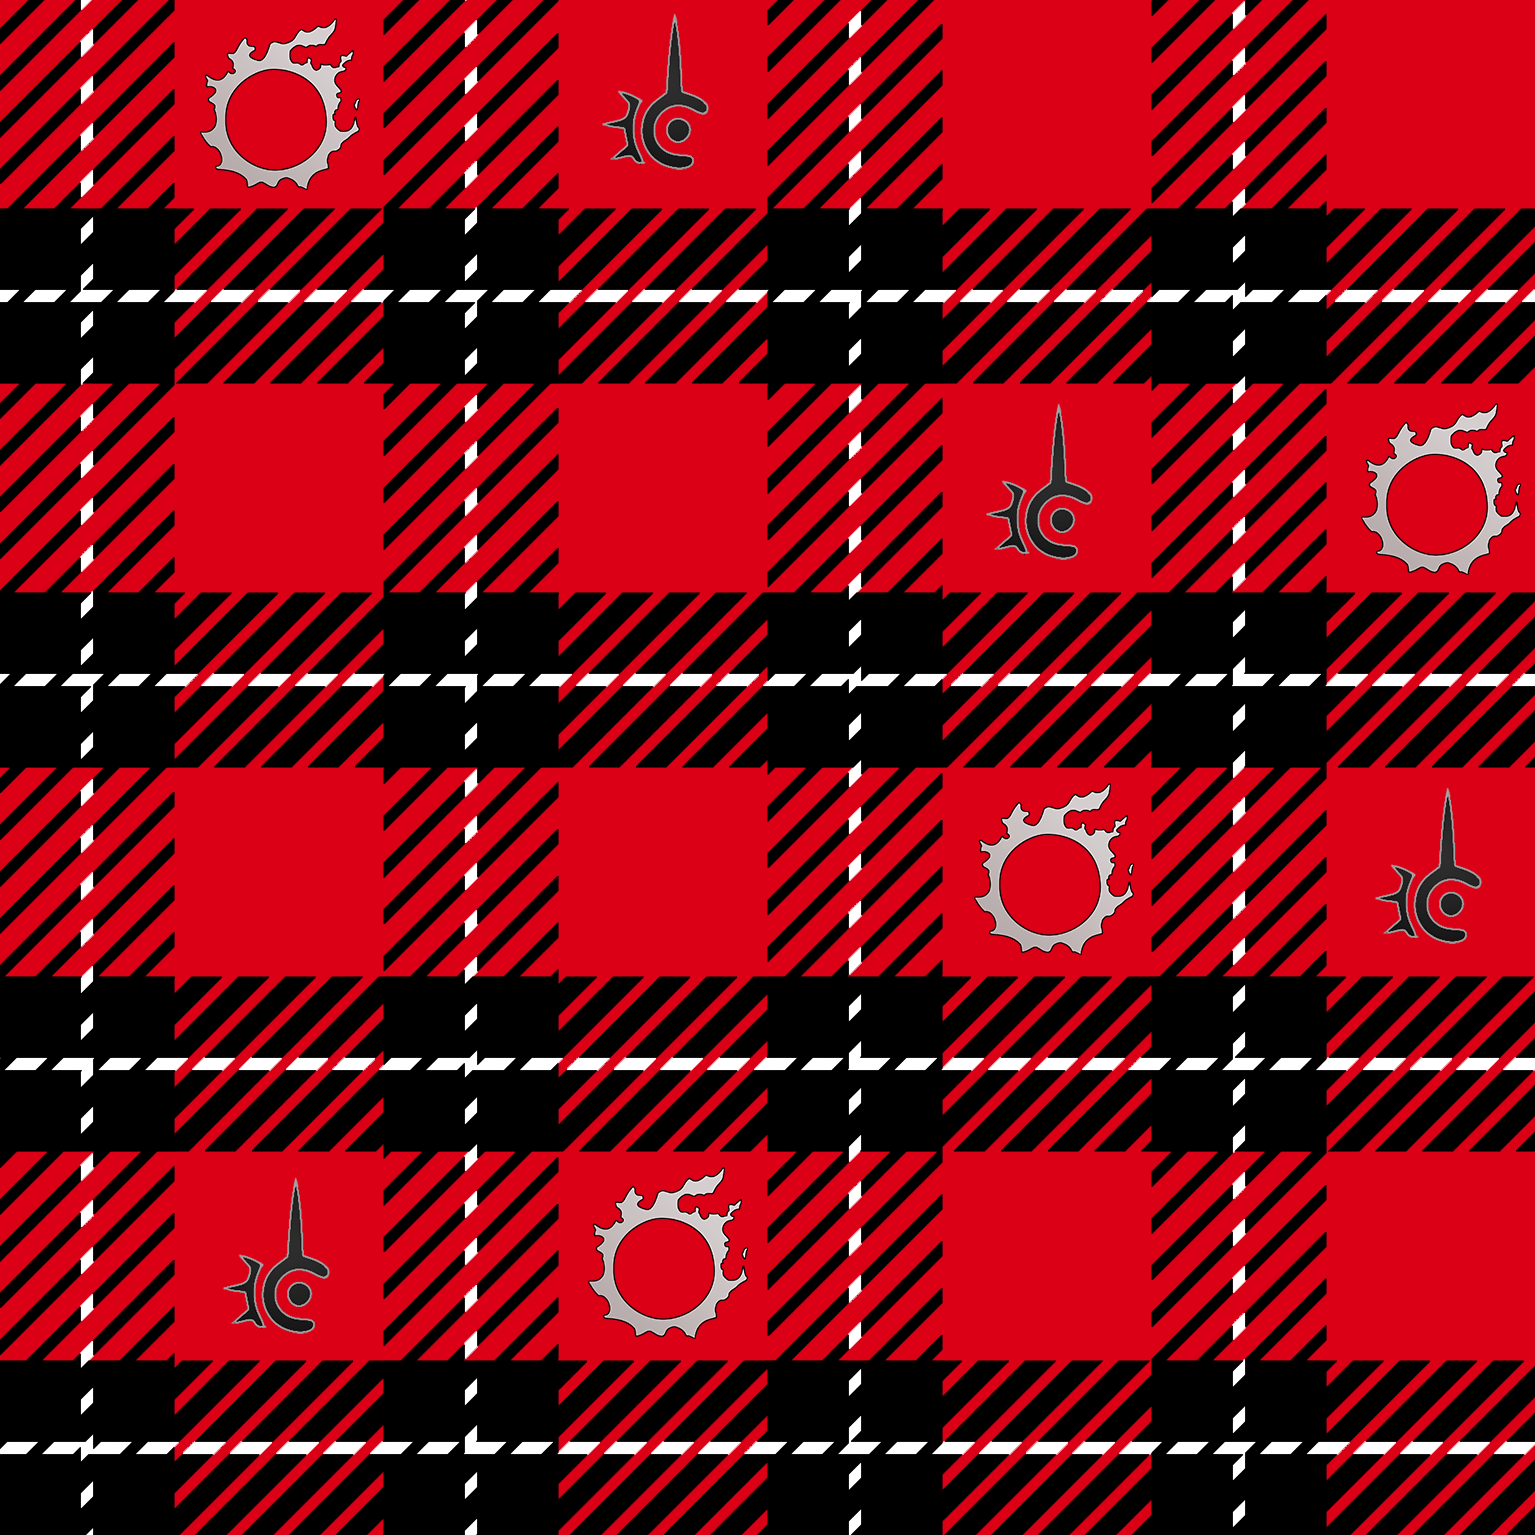
Contrado (who I used for these test print swatches) do very affordable samples, from small A5 paper size prints up to A1 size, with a choice of over 90 of their fabrics. Not only can they print simple patterns like the two below, but they can do full image/text detail prints too.
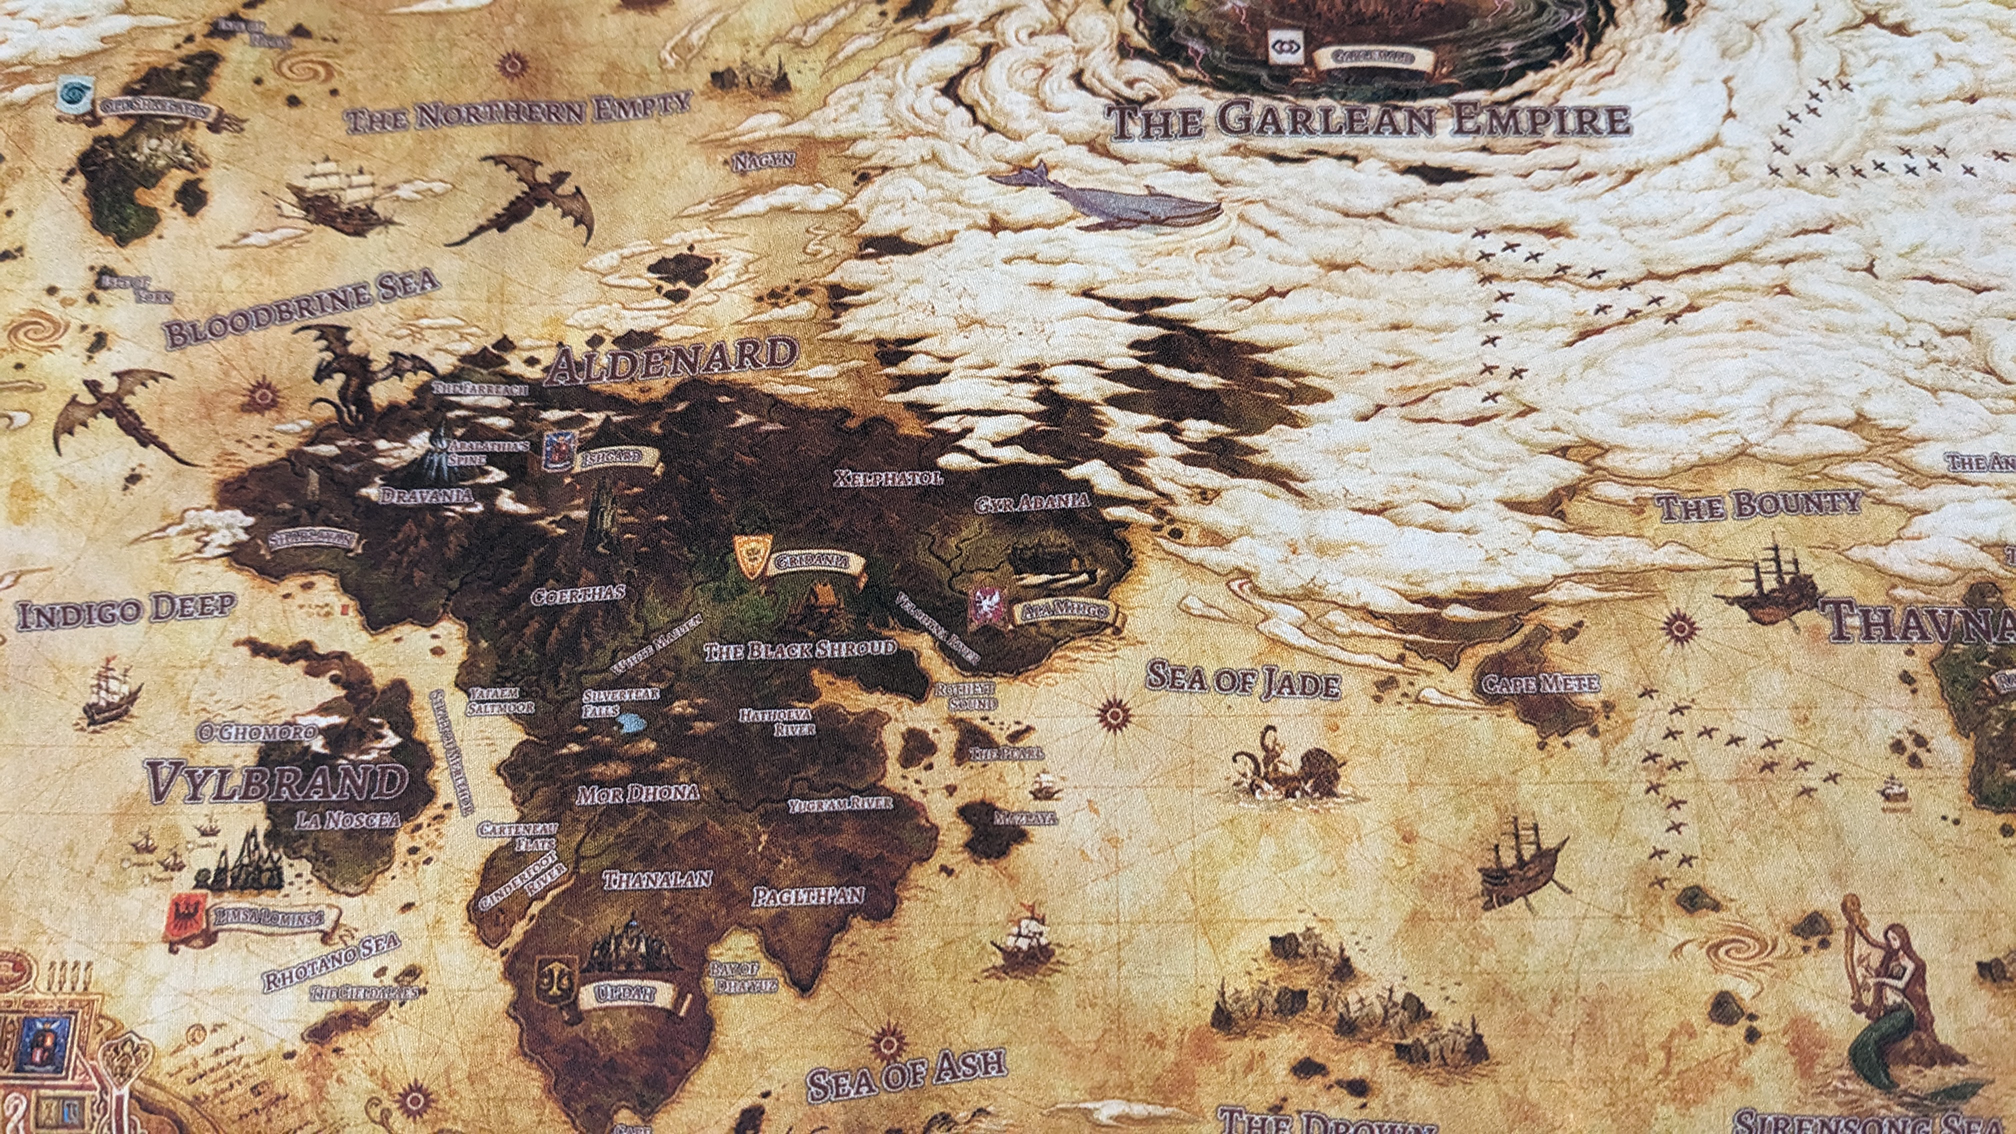
Having tried out their image printing to get my wall hangings, I knew the image print quality was top-notch, and even small text and fine details would show up. I've taken a quick photo of my FFXIV map at a close-up to show how well the details came through on that sample.
So, for £15 + P&P, I decided to indulge my growing enjoyment in MtG and get an A1 sample of 2mm thick neoprene printed, with two smaller-than-standard playmat images on, for me to the cut out of the sample, overcast the resulting edges and play Magic on!
The first step was creating my super-beginner playmat template. It lists the basic parts of each player's turn, what 'tapping' a card is, the mana symbols, keyword definitions and symbols plus details on Planeswalker cards. All with handy demarcated zones for your Library, Graveyard, Lands etc. etc..
Took me a fair while in Photoshop to get it all together and looking clean and, above all, legible. If you check out the image of it as a largely-complete WIP, note the folders in the layers section. This template uses a lot of text and shape items so there's a lot of separate layers for every last element of the design.
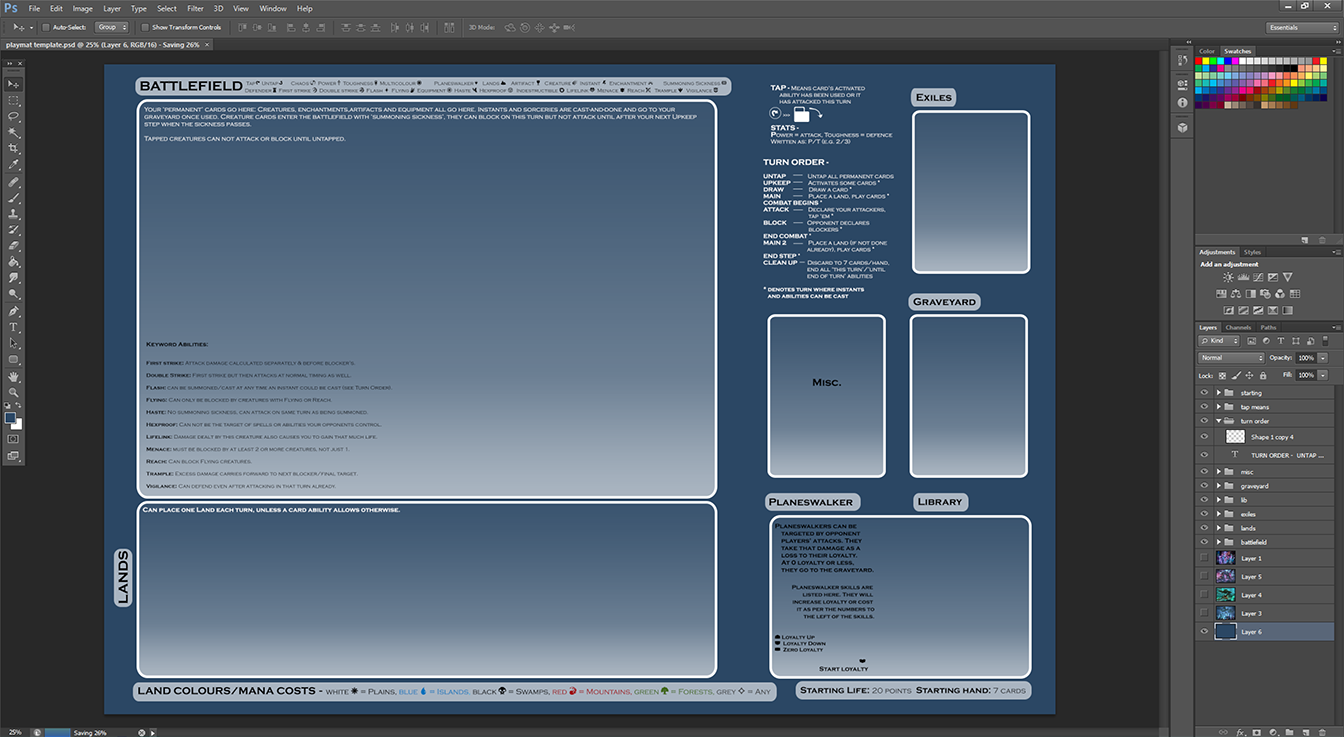

Obviously, the plain blue background isn't very eye catching or nice to look upon. Not to mention, MtG, like most trading card games, has a strong tradition of full-art playmats.
Who am I to disregard such historied practices? :p
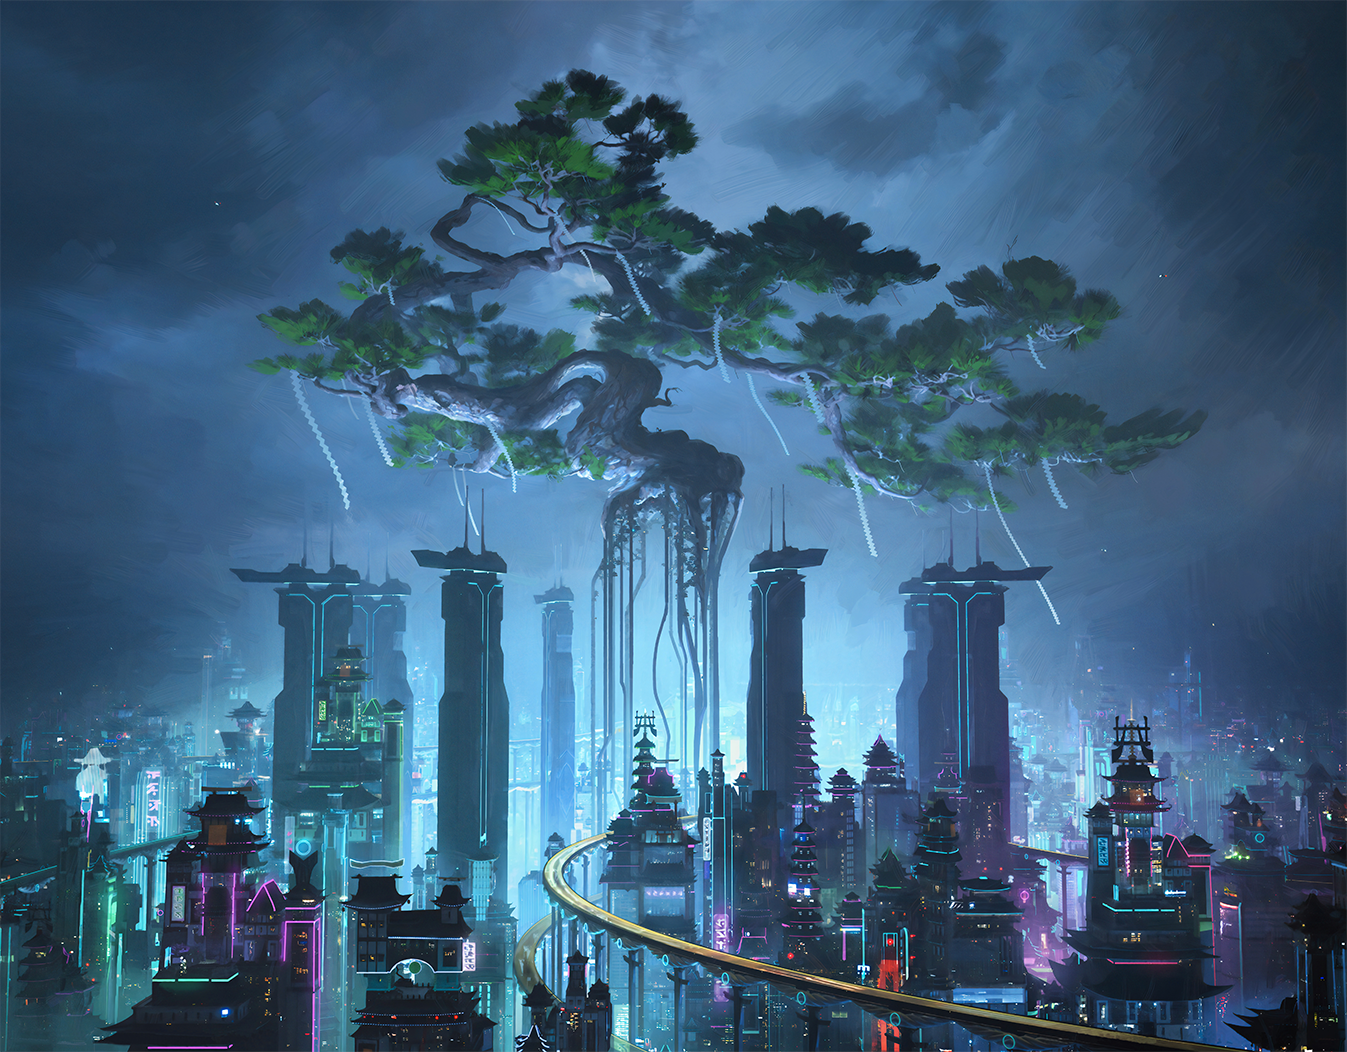
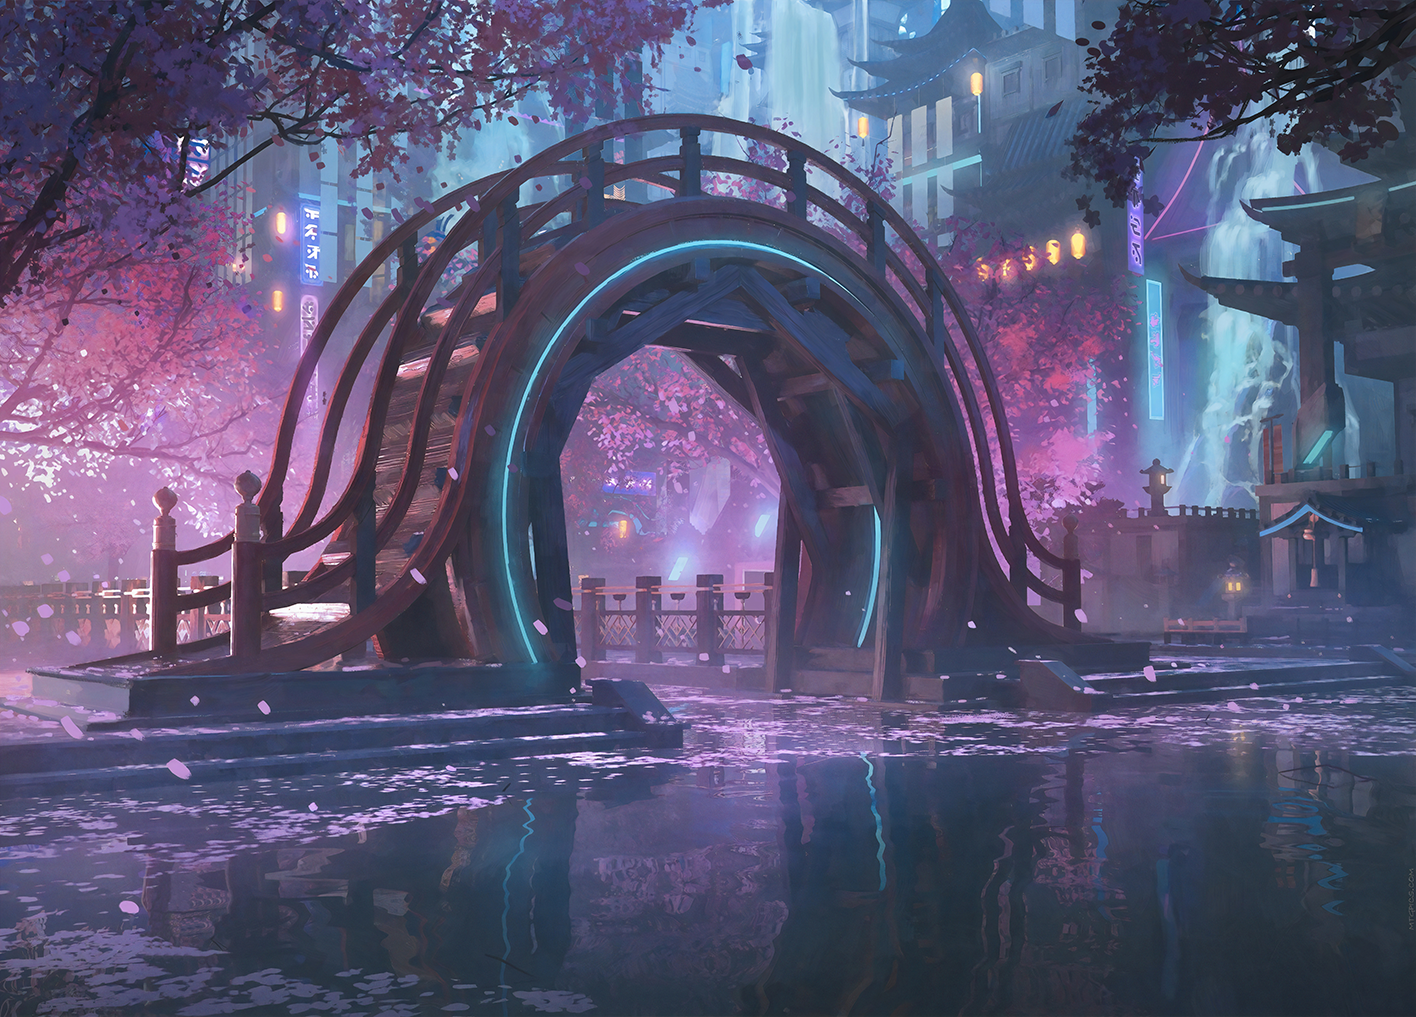
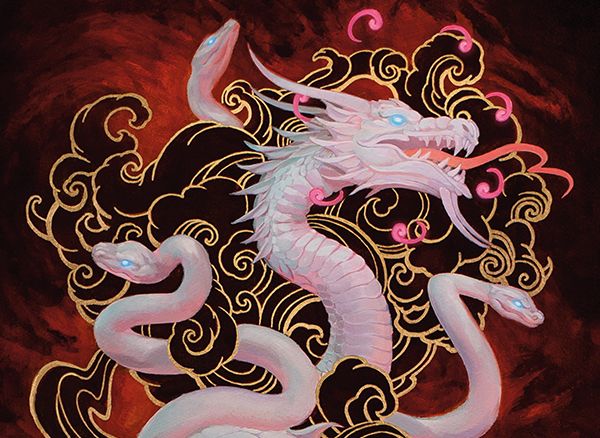
I picked a few of the higher-resolution art pieces available from the NEO set from last year. It's not hugely relevant to MtG as it's not a Standard-legal set anymore but I love the premise of the Plane and its theme, and find the cards in the set to be very fun to play with!
I ended up settling on the art from Boseiju, Who Endures, and Dismal Backwater. Both are NEO Lands, with Boseiju being a Legendary Land and Dismal Backwater being a dual-mana Land, tapping for blue or black mana. The artist for both cards was Chris Ostrowski, who I suspect is behind most of my favourite art pieces from this set.
Of course, we're talking about a 52cm wide, 36cm tall image here. And like most image printing services, a DPI (dots per inch) of at least 300 is required. So, given the size I wanted to print at, I needed some super high resolution art. The template I built at 300 DPI from the start but the art I could find was very high res, but not at 300 DPI.
Enter, the image enhancement AIs of the modern age.
I often use this upscaling tool, especially since it's AI enhancement really does help you keep the details in your image. Upscale.media has a limit of overall image size and can only go up to 4x the original size, however. Given that I needed to taken my images over A2 size ad still get 300 DPI, 4x bigger would not be enough.
Thankfully, Let's Enhance have a great deal more flexibility in terms of how big and what adjustments you want making to an image. The only downsides are a) it doesn't play well with Firefox (or maybe just with Firefox's adblocker extensions) and b) it plonks a big logo in the bottom left corner of your image.
The logos I picked back out of the images as best as I could (amateur that I am) using the clone stamp tool and some selective copy-pasting.
Once that was done, it was just a case of shunting the images into a layer of the template at the background, resizing them to fit nicely and then a little nudging to get them positioned correctly.
After I slipped each image behind the template and got it placed where it looked best, I checked that there wasn't any huuuuge loss in legibility with the art background compared to the plain blue (there was a little loss in places but nothing that made the entire word/phrase unreadable), and that the overall image would look okay. Then saved each playmat out as its own .png file.
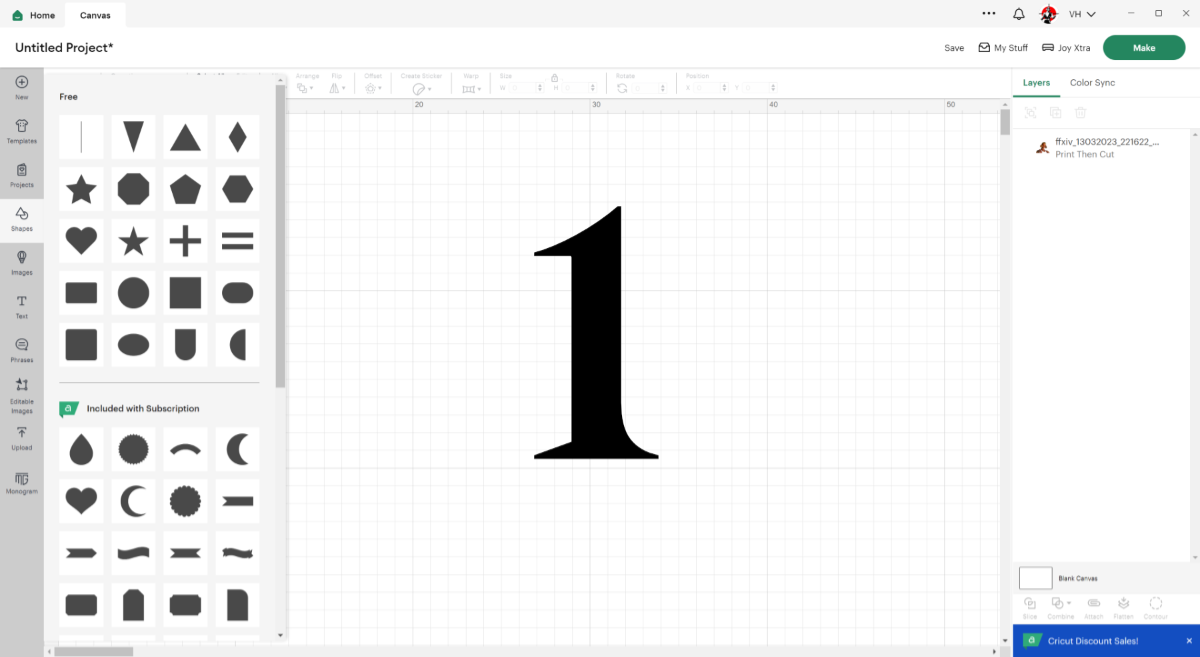
The PNGs I uploaded into the design tool on Contrado's site, scaled them to the correct dimensions as their designer automatically resizes all images according to the sample/fabric print area and checked that the preview didn't look terrible.
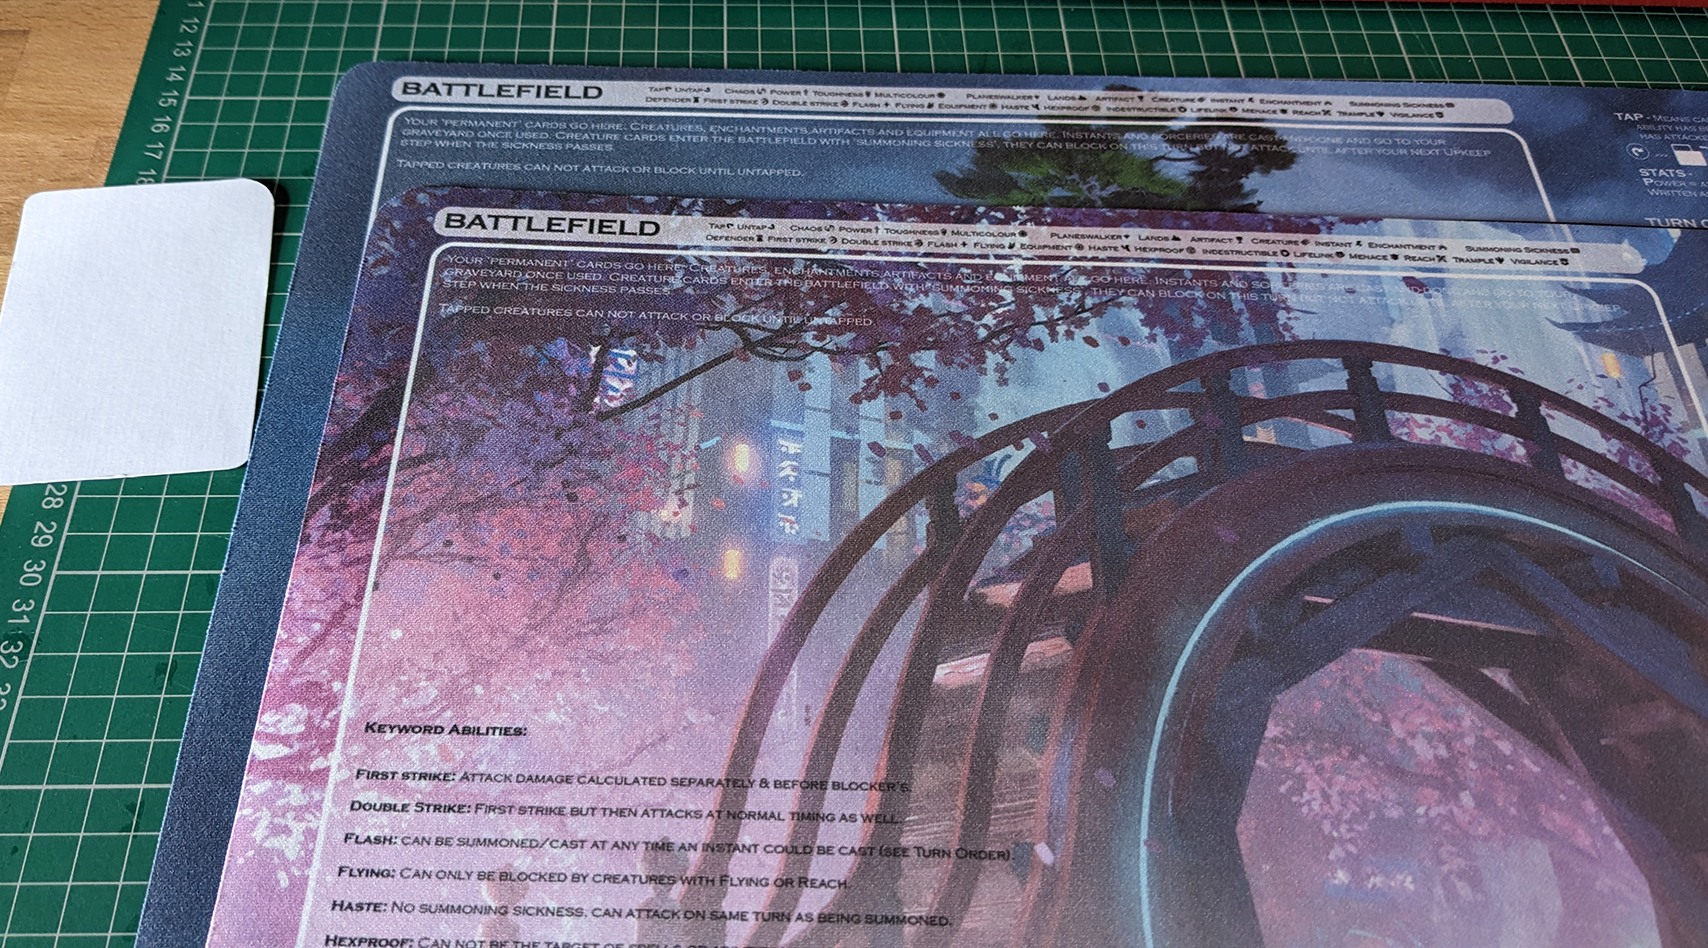
They arrived last week, only a few days after ordering (I'm generally finding Contrado to be quite quick like this, even if you do pay for it: P&P is on the costly side).
Yesterday, I cut the two mats out of the single sample print piece using my quilting ruler and a rotary cutter - which gave lovely smooth edges, except for where I fudged the line a little - and then used a little stencil card to mark out 10mm radius corners and cut those off with my fabric scissors.
I was planning on overcasting the edges neatly in black, to prevent peeling and the poly top sheet splitting from the neoprene back, but my brand spanking new overcasting foot broke. I was repairing a t-shirt seam and the needle clipped the middle bar of the foot. It snapped right off! If I had kept the receipt and package, I'd return it, but for less than a fiver I didn't bother :/ so I'm back up the sewing shop later today to get another one and then I'll update you with the finished mats once I've done that overcasting!
Wish me luck with it ^.^

Chatter